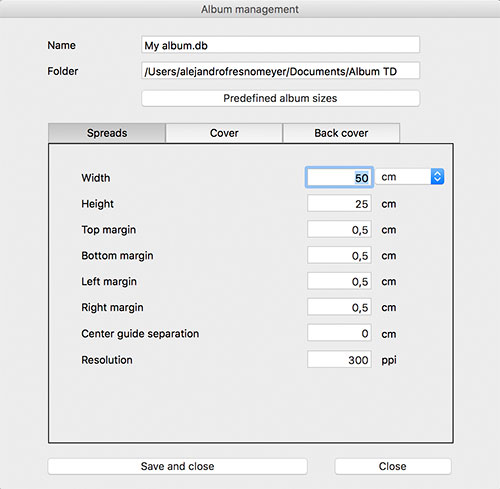
Album TD allows to save your preferred album sizes as predefined ones, this way it will be easier to select them on next albums. Please follow this steps:
1.- Click at Edit album at the main menu

2.- Now click at Edit custom album sizes

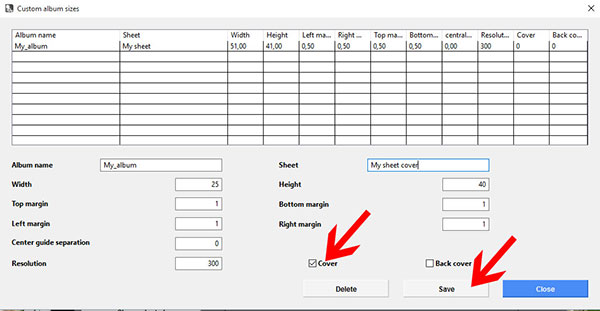
3.- Input your sheet size, give it a name (album name and sheet name) and click at Save.

4.- Do the same for the cover sizes but make sure to select the Cover checkbox at bottom, the click at Save

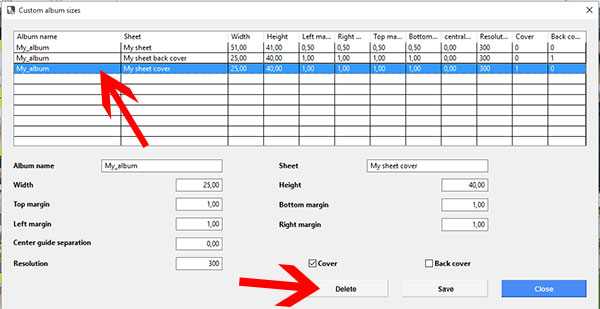
5.- And also input the size for your back cover and select the Back cover checkbox at bottom (Cover and back cover are optional). Please notice that the album name should be the same for sheet, cover and backcover for a single album type, this way cover and backcover are preselected when you select an album sheet.

6.- If needed you may edit or delete this records, just select the record to edit at the list

7.- Input the corrected size and click at Save or click at Delete if you want to delete this record. If the values for a record change a new record will be added and you may delete the old.
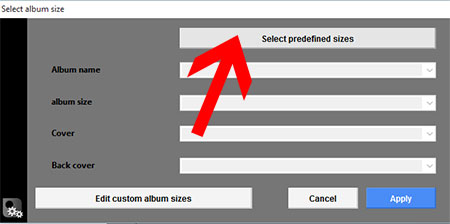
8.- Once finished close this window. Now you may click at Select predefined size

9.- Select the custom database from the list, this is the file where your own sizes will be saved and the one selected by default each time you select predefined sizes in the future

10.- The album sizes for sheet, cover and backcover you have input are ready to be selected. Just select the ones you want to use for this album and click at Apply

This album sheet, cover and backcover sizes are automatically input for your album at the main album size edition window.


